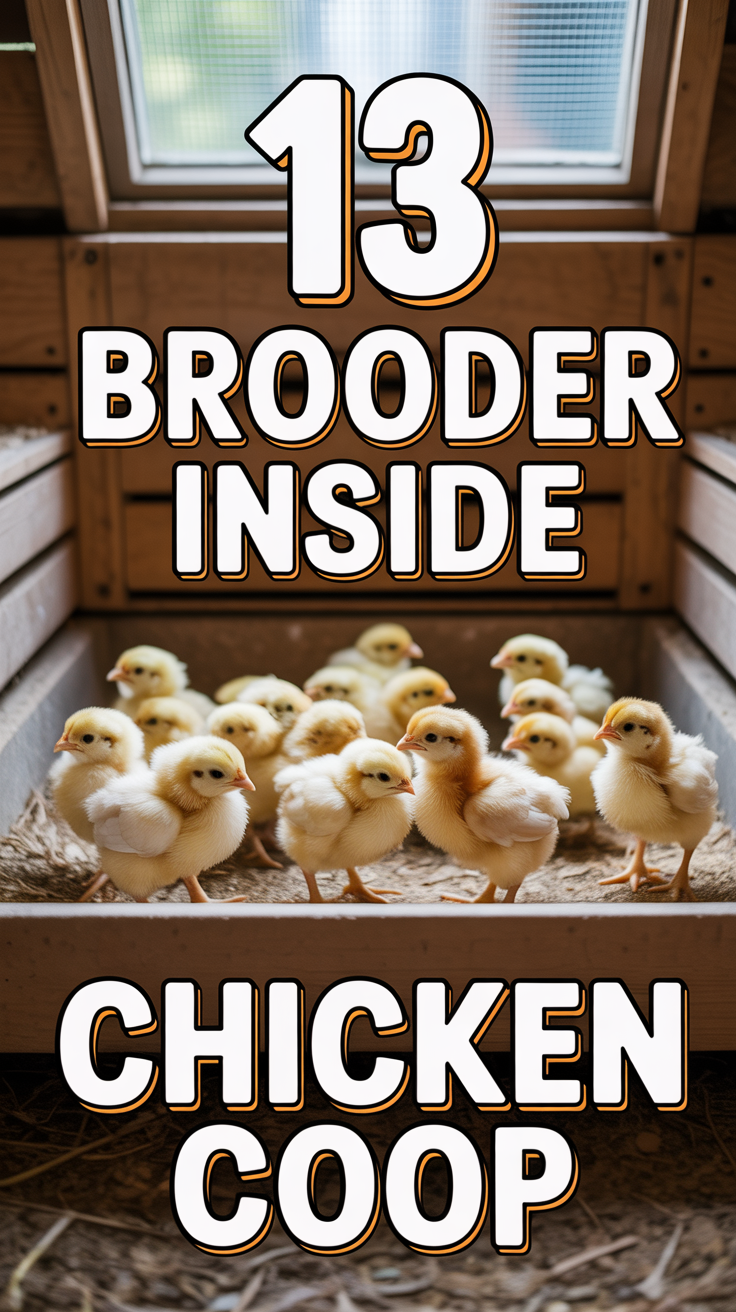
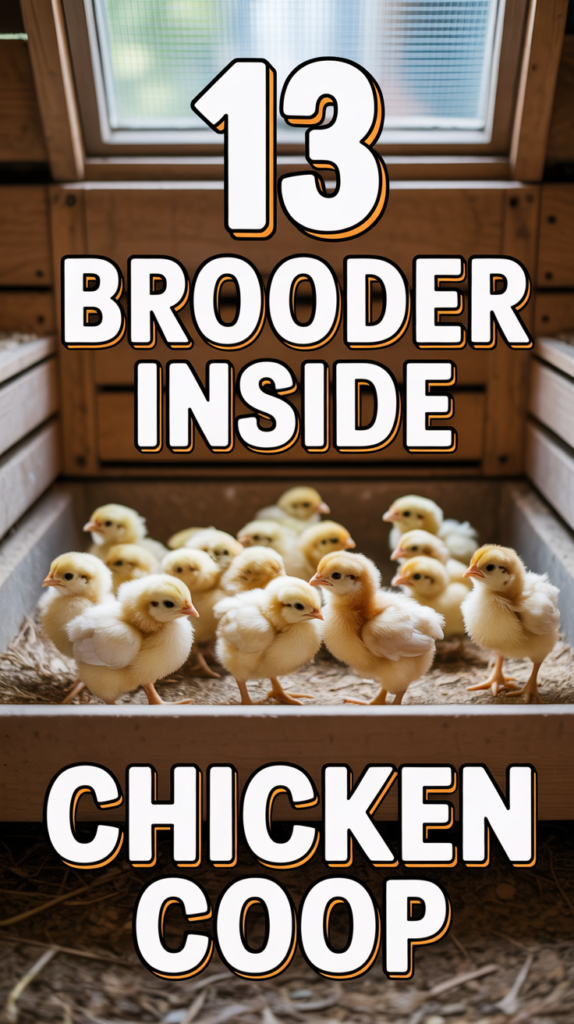
🐥 13 Brooder Inside Chicken Coop
🐕 The Happy Pet Foundation Kit
Being a pet parent is incredibly rewarding, but it comes with unique challenges. Instead of wasting money on toys they'll destroy in five minutes, these are the 5 rugged, vet-recommended essentials that physically and mentally enrich your pets' lives every single day.
🔴 KONG Classic Durable Rubber Dog Toy
The absolute gold standard for canine mental stimulation. Stuff this ultra-durable rubber cone with peanut butter and freeze it—it instantly cures separation anxiety, stops destructive chewing out of boredom, and keeps high-energy dogs quietly occupied for hours.
🌸 Catit Flower Water Fountain
Cats notoriously hate stagnant water, which often leads to dangerous dehydration and kidney issues. This constantly flowing, triple-filtered fountain aggressively encourages pets to drink more water while keeping it entirely free of hair and dirt.
✂️ FURminator Undercoat deShedding Tool
Stop vacuuming your house twice a day. This patented grooming tool safely reaches through the topcoat to remove loose hair and undercoat without cutting the skin. Using it just once a week reduces loose pet shedding by up to 90%.
💩 Earth Rated Leak-Proof Dog Poop Bags
Never risk a disaster on a walk again. These incredibly thick, surprisingly pleasant lavender-scented bags are 100% guaranteed leak-proof. They seamlessly tear off the roll without ripping, making the worst part of dog ownership significantly better.
🥣 Outward Hound Slow Feeder Dog Bowl
Dogs that inhale their food are at high risk for bloating and poor digestion. The puzzle ridges in this heavy-duty bowl force your pet to forage for their kibble, dramatically slowing their eating pace while turning dinner time into a healthy brain game.
Alright, chick whisperers. So you’ve decided to bring some adorable, fluffy chaos into your life. Hatching chicks or buying day-olds is a total vibe, but then comes the million-dollar question: where do these tiny divas crash for their first few weeks? Sticking a brooder inside the chicken coop might sound like a wild idea, but trust us, it’s genius. Let’s ditch the garage drama and embrace the coop life from day one. Get ready to level up your chick game.
1. Location, Location, Location
First things first, don’t just plonk that brooder anywhere. You need a prime spot inside the coop. Think about a corner that’s out of the main coop traffic flow but still has decent light and airflow.
You want a spot that offers a bit of shelter from the elements, even inside the coop, and keeps them away from overly curious adult birds. A good spot minimizes drafts and sudden temperature shifts. Pro tip: Observe where your existing flock tends to hang out least; that’s prime chick real estate.
Nailing the location sets your chicks up for a chill, stress-free start in their new digs.
2. Size Matters, Seriously
Don’t cram those little nuggets into a shoebox. Your brooder needs to be big enough for them to move around, find food, water, and escape the heat lamp if they get too toasty. They grow faster than your credit card bill.
Aim for at least half a square foot per chick for the first few weeks, then upgrade as they sprout. A common mistake is underestimating their growth spurt. Pro tip: Opt for a sturdy, easily cleanable bin or a dedicated brooder kit from the get-go; it saves future headaches.
Giving them ample space prevents squabbles and promotes healthy development.
3. Heat Lamp Hacks
This isn’t just about warmth; it’s about life. Position your heat lamp securely, high enough to provide a comfortable gradient, but low enough that they don’t freeze their tiny toes off. Red bulbs are your friends here.
Red heat lamps are less disruptive to their sleep cycles and make it harder for chicks to peck at each other (they can’t see blood as easily). Always have a backup plan for power outages. Pro tip: Use a thermometer to monitor the temperature at chick level; aim for 95 degrees Fahrenheit for week one, dropping 5 degrees each week.
Proper heat management keeps your chicks happy, healthy, and hazard-free.
4. Bedding Bliss
Forget fancy carpets; pine shavings are where it’s at. They’re absorbent, provide good traction, and smell pretty decent. Avoid newspaper or anything slippery; those tiny legs need grip.
Deep litter is your friend here, absorbing moisture and odor. Change it regularly to prevent ammonia buildup, which is a big no-no for chick respiratory health. Pro tip: Never use cedar shavings; they contain oils that are toxic to poultry.
The right bedding keeps the brooder clean and prevents leg injuries.
5. Feeder & Waterer Wisdom
Chicks are messy, so choose feeders and waterers that minimize spills and prevent them from pooping in their refreshments. Small, chick-specific designs are non-negotiable.
Elevate them slightly as chicks grow to keep bedding out. For water, add marbles or small stones to prevent accidental drownings, especially for day-olds. Pro tip: Clean waterers daily, sometimes twice, because chicks are basically tiny, adorable dirt machines.
Easy access to clean food and water fuels their rapid growth.
6. Predator Proofing (Even Inside)
Think your coop is safe? Think again. Adult chickens, especially roosters, can be curious or even aggressive towards new chicks. Your brooder needs a secure top.
A wire mesh lid keeps the big birds out while allowing crucial airflow. This also protects against any sneaky rodents or other critters that might find their way into the coop. Pro tip: Ensure the mesh holes are small enough that chicks can’t squeeze through, because they are escape artists.
Security measures keep your little ones safe from unwanted attention.
7. Ventilation Vibe
Stuffy brooders are a recipe for respiratory issues. Even inside the coop, your brooder needs good airflow without creating drafts directly on the chicks.
Ensure there’s enough air exchange to prevent ammonia buildup from droppings. A mesh top helps, but also consider the overall coop ventilation. Pro tip: If you can smell ammonia, your chicks are already breathing in too much; time for a deep clean and better air circulation.
Fresh air is essential for healthy lungs and overall chick vigor.
8. Temperature Taming
Beyond the heat lamp, maintaining a consistent brooder temperature is key. Sudden drops or spikes are stressful for chicks. Use that thermometer religiously.
Watch your chicks’ behavior: huddling means too cold, spread out and panting means too hot. Happy chicks are evenly dispersed. Pro tip: Adjust the heat lamp height gradually, rather than making drastic changes, to let the chicks acclimate.
A stable temperature environment reduces stress and prevents illness.
9. Gradual Integration
The brooder inside the coop acts as a VIP lounge, allowing the big birds to see and hear the chicks without direct contact. This visual introduction is crucial for smoother integration later.
Over time, the flock gets used to the idea of new residents. This minimizes bullying and stress when you eventually introduce them. Pro tip: Place the brooder where the adult birds can observe them from a safe distance, but not constantly peck at the sides.
Early exposure makes the transition to flock life much less dramatic.
10. Sanitation Station
A clean brooder is a healthy brooder. Chicks produce a surprising amount of waste, and bacteria thrive in damp, dirty conditions. Daily spot cleaning is non-negotiable.
Change bedding completely every few days or when it gets significantly soiled. Disinfect the brooder between batches of chicks. Pro tip: Keep a small scoop and brush handy for quick daily clean-ups; it makes the big cleans less daunting.
Diligent cleaning prevents diseases and keeps your chicks thriving.
11. Monitoring Magic
Daily check-ins aren’t just for feeding; they’re for observation. Watch your chicks closely for any signs of lethargy, pasting up, or unusual behavior. They can go downhill fast.
Look for bright eyes, active movement, and healthy appetites. Early detection of issues can save lives. Pro tip: Spend a few minutes just sitting and observing them; you’ll learn their normal behaviors, making it easier to spot problems.
Constant vigilance ensures you catch and address problems quickly.
12. Brooder Removal Rationale
Knowing when to ditch the brooder is crucial. Chicks usually need supplemental heat until they are fully feathered, typically around 5-6 weeks, depending on the breed and ambient temperature.
Once they’re feathered and the coop temperature is consistently above 50-60 degrees Fahrenheit, they’re likely ready for full integration. Pro tip: Observe them during cooler parts of the day; if they’re still huddling, they might need a bit more brooder time.
Timing the brooder removal correctly prevents chilling or overheating.
13. Backup Plan B
Even with the best intentions, things can go sideways. What if the coop gets too cold? What if an adult bird is relentlessly harassing the brooder? Always have a contingency plan.
This might mean a temporary move to an indoor space or a different section of the coop. Being flexible is key to successful chick rearing. Pro tip: Keep an extra heat lamp bulb and a spare waterer on hand; Murphy’s Law loves poultry.
Having a backup plan ensures your chicks’ safety no matter what.
🐾 The Ultimate Pet Care & Cleanup Kit
We love our animals, but we don't love the messes they make. From muddy paws to unexpected accidents, these are the 5 ultimate cleanup and home-care tools you need to keep your house smelling fresh and looking spotless despite the chaos.
🛋️ ChomChom Pet Hair Remover Roller
Throw away your sticky tape lint rollers. By rapidly rolling this tool back and forth, it generates an electrostatic charge that magically pulls deeply embedded dog and cat hair out of couches, beds, and carpets. It's completely reusable and requires no batteries or tape.
🧼 BISSELL Little Green Portable Carpet Cleaner
The ultimate lifesaver for pet owners. Whether it's muddy paw prints, spilled wine, or an unexpected puppy accident, this portable spot-cleaner aggressively scrubs and vacuums stains straight out of your carpets and delicate upholstery before they can set in.
🧪 Rocco & Roxie Enzymatic Stain Eliminator
Regular cleaners just mask smells. This professional-strength bio-enzymatic formula physically eats away deep-set ammonia crystals from pet urine, completely destroying the stain and the odor forever so your pet won't be tempted to mark the same spot again.
🍊 Angry Orange Pet Odor Eliminator
Derived from the oil of custom cold-pressed orange peels, this commercial-grade deodorizer doesn't just cover up 'wet dog' smells or litter box odors—it utterly neutralizes them. A tiny spray leaves your entire home smelling like a fresh citrus grove.
🚫 Seresto 8-Month Flea & Tick Collar
The mess-free alternative to greasy monthly topical treatments. This vet-recommended collar continuously releases low concentrations of active ingredients for eight straight months, killing and repelling fleas and ticks before they can infest your house.
Conclusion
So, there you have it, folks. Setting up a brooder inside your chicken coop isn’t just about convenience; it’s about giving your fluffy little future egg-layers the best start possible. You’re basically building them a tiny, exclusive Airbnb within the main compound. They get to chill, get warm, and slowly get acquainted with their future roommates, all without the drama of a sudden move. Go forth and brood with confidence; your flock (and your sanity) will thank you for it.