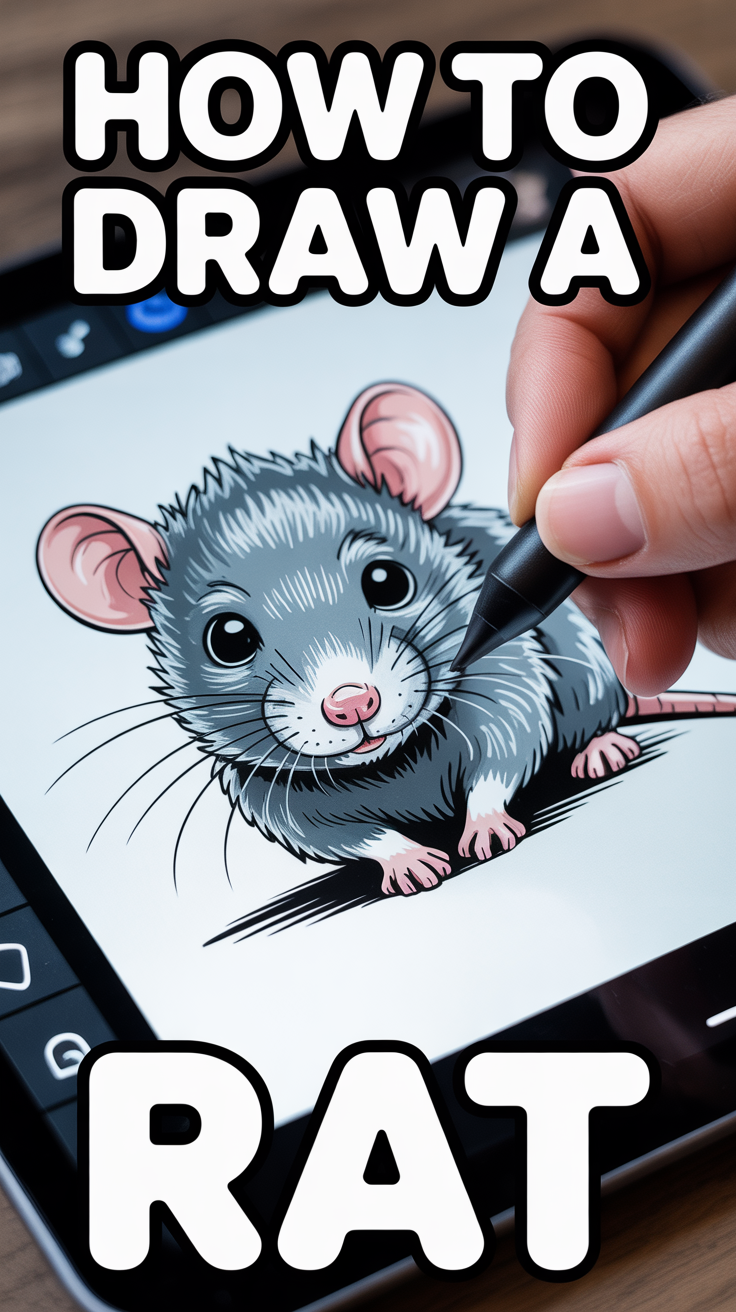
🐭 How To Draw A Rat
Hello, fellow pet parents and art enthusiasts! Are you ready to embark on a creative adventure that combines your love for all things furry with the joy of putting pencil to paper? Today, we’re going to learn how to draw a rat – and before you raise an eyebrow, hear us out! These often-misunderstood creatures are incredibly intelligent, social, and yes, undeniably cute in their own unique way, much like the charming antics of our own beloved Golden Retrievers or the sleek elegance of a pampered Persian cat. Let’s unleash our inner artist and discover the delightful world of drawing a rat that’s ready for its close-up, perhaps even a starring role on your next homemade dog treat label!

Quick Overview
Ready to create a masterpiece that captures the spirit of a tiny, whiskered friend? This guide will walk you through transforming simple shapes into an adorable rat, perfect for anyone who loves animals and wants to try something new.
Time needed: 30-60 minutes (depending on how much detail and shading you want to add!)
Difficulty: Beginner
* What you’ll need: A pencil (HB or 2B is great for sketching), an eraser, and some paper. Optional additions include a fine-liner pen for outlining and colored pencils or markers to bring your rat to vibrant life!
Step-by-Step Instructions
Step 1: Sketching the Foundation – The Body & Head
Every great drawing starts with a solid foundation, much like building the perfect cozy bed for your Cavalier King Charles Spaniel. We’ll begin by sketching the basic shapes that form our rat’s body and head. Think light, gentle strokes – we’re just mapping things out, not committing to anything just yet!
Start with two overlapping ovals. The larger oval will be the body, and it should be slightly elongated, like a plump little sausage. Imagine a tiny, fluffy cat curled up for a nap – that gentle curve is what we’re aiming for. The smaller oval, for the head, should overlap the body oval by about a quarter, positioned towards one end. This head oval should be rounder, like a tiny egg. Don’t press too hard; these are just guides!
Pro tip: When sketching, use your whole arm, not just your wrist. This gives you smoother, more natural curves. Think of it like gently petting your Golden Retriever – soft, flowing movements!
Step 2: Ears & Snout – The Personality Peepers
Now that our rat has a body and head, it’s time to add those defining features that give it character: the ears and the snout. These elements are key to making your rat look endearing and full of personality.
For the ears, draw two medium-sized circles on top of the head oval. They should be relatively large in proportion to the head, giving that classic cute, “Mickey Mouse” look. Position them on either side of the head, slightly towards the back, as if they’re listening intently for the sound of a treat bag opening. These aren’t flat circles; imagine them slightly cupped, like tiny satellite dishes.
Next, for the snout, extend a gentle curve from the front of the head oval, tapering slightly to a rounded point. This will form the rat’s nose and mouth area. It shouldn’t be too long or too pointy; think of the sweet, rounded nose of a puppy. Erase any internal lines where the ears overlap the head or the snout overlaps the head oval to clean up your basic shape.
Pro tip: The placement of the ears can dramatically change your rat’s expression. Placing them higher and wider can make it look more alert and playful, perfect for a “silly animal moment” snapshot!
Step 3: Eyes & Whiskers – Windows to the Soul
The eyes are where your rat truly comes alive, just like the soulful gaze of your favorite pet. And those whiskers? They’re pure charm!
Draw two small, round or slightly almond-shaped eyes on the side of the head, above the snout. Rats have eyes positioned on the sides of their heads, so don’t put them too close together like a human’s. For that extra spark of cuteness, leave a tiny white circle inside each eye to represent a highlight – this makes them look shiny and alive, like they’re ready for their pet profile pic! Fill in the rest of the eye with your pencil, making it dark.
Now, for the whiskers! From the snout area, draw several fine, delicate lines extending outwards. They should fan out gracefully, some longer, some shorter, just like the intricate whiskers on a majestic Maine Coon cat. Don’t make them too thick or too uniform; natural variation adds to the charm.
Pro tip: Give your rat a slight eyebrow ridge above the eyes, or a subtle crease, to convey more emotion. A little tilt of the head, like a curious Golden Retriever, can make all the difference!
Step 4: Paws & Legs – Tiny Grippers of Joy
Rats have incredibly dexterous little paws, and capturing their unique structure will add a lot of authenticity to your drawing.
For the front paws, draw two small, curved lines extending from the underside of the body, just behind the head. These should look like tiny, bent arms. At the end of each, draw a small, flattened oval for the paw itself, with tiny bumps for the toes. Think of them like miniature versions of your dog’s paws, but with delicate, almost human-like fingers ready to grasp a tiny treat. One paw might be slightly raised, as if reaching for something, or tucked under the chin like a sleeping kitten.
The back legs are a bit stronger and more muscular. Draw them as two slightly thicker, curved lines extending from the lower back part of the body. These should bend at the knee and then extend down to a larger, more foot-like paw. Again, add little bumps for the toes. Imagine the springiness of a dog about to zoomie – even tiny rat legs have that potential energy!
Pro tip: Don’t make the legs too stiff! Give them a natural bend and slight asymmetry for a more dynamic and lifelike pose. A rat with one paw slightly lifted can look incredibly curious and engaging, perfect for a funny animal moment capture.
Step 5: The Tail – A Whippy Expression
The tail is a quintessential part of a rat’s silhouette and can convey a lot about its mood and movement.
From the very end of the body oval, draw a long, thin, tapering tail. It should be about as long as the rat’s body, if not a little longer. It’s often depicted as being hairless, but for a cuter interpretation, you can add very subtle, fine lines to suggest a tiny bit of peach fuzz. Give it a gentle curve – perhaps a playful S-shape, or a slight curl at the end, as if it’s just finished a happy wiggle. Avoid making it too thick or too stiff; it should look flexible and fluid.
Pro tip: A tail held high and curved can suggest excitement or curiosity, while a tail tucked low might imply shyness. Use it to enhance your rat’s “pet birthday” pose!
Step 6: Fur & Form – Adding Texture & Dimension
Now that you have the basic outline, it’s time to bring your rat to life with some texture and refine its form. This is where your drawing starts to feel truly three-dimensional, much like running your hand over the soft fur of a Golden Retriever.
Gently erase your initial guide lines, leaving only the refined outline of your rat. Now, use short, light pencil strokes to suggest fur. Instead of drawing individual hairs, think about the direction the fur grows – generally downwards and backwards on the body. Follow the curves of the body, head, and legs. This creates a soft, fuzzy texture. Pay attention to areas like the cheeks, belly, and around the ears, where fur might be thicker or softer.
Refine the overall shape, making sure the transitions between the head, body, and limbs are smooth and natural. Add subtle bumps for knuckles on the paws or a slight curve to the back. Imagine how a real animal’s muscles and bones create subtle undulations under their fur.
Pro tip: For a truly aesthetic pet photography feel, think about light and shadow. Areas that would naturally be in shadow (like under the belly, behind the ears, or where limbs meet the body) can have slightly denser fur texture or a touch more shading to create depth.
Step 7: Final Touches & Shading – Bringing it to Life
This is where the magic happens! Shading adds depth, realism, and personality, transforming your sketch into a vibrant piece of art.
Using your pencil, start adding light layers of shading. Think about a single light source – where is the light coming from? Areas opposite the light source will be darker. Shade under the chin, under the belly, and the undersides of the limbs. The ears can have a slightly darker tone on the inside, and around the eyes to make them recede slightly. Build up your shading gradually, using light pressure first, and then adding more layers for darker areas. You can use a blending stump or even your finger (gently!) to smooth out the graphite for a softer look, much like the soft blur in a professional pet portrait.
Add a few final details: tiny claws on the paws, a subtle line for the mouth, or even a few stray hairs for extra character. You can also use your eraser to lift out highlights on the fur, making it appear shiny in places. Once you’re happy, you can go over your final lines with a fine-liner pen for a crisp, clean outline, just like a finished piece of custom pet art.
Pro tip: If you’re feeling adventurous, add a simple background! A tiny block of cheese, a miniature birthday hat (for your dog’s next birthday card, perhaps?), or even just a subtle shadow beneath your rat will ground it in space and make it pop!
Common Mistakes to Avoid
Even the most seasoned artists (and pet parents!) make little oopsies. Here’s how to steer clear of common pitfalls when drawing your adorable rat.
-
Disproportionate Features: Ever seen a cat with ears too big for its head, or a Golden Retriever with a tail that’s too short? It can look a little off. The most common mistake is making the head too big or too small compared to the body, or the tail disproportionately short or long. This can make your rat look less like a cute, balanced creature and more like a cartoon caricature (unless that’s your goal!).
Why it’s problematic: It breaks the visual harmony and can make the rat look unnatural, even for a stylized drawing.
The correct approach: Start with light guide lines and continually compare the sizes of different body parts. The head should be roughly 1/3 to 1/4 the size of the body, and the tail should be at least as long as the body, if not longer. Step back frequently to get a fresh perspective, just like you would to admire your dog’s perfect ‘stay’ command.
-
Stiff Posture: A rat that looks like it’s made of cardboard won’t convey that playful, curious energy we love in our pets. Drawing a rat with rigid, straight lines for legs and body makes it look lifeless and unnatural.
Why it’s problematic: Animals are dynamic! Stiff poses lack movement and personality, which are crucial for making your drawing engaging.
The correct approach: Embrace curves and gentle angles. Think about the natural bend in an animal’s joints. Even when sitting still, there’s a softness to their posture. Imagine the relaxed, elegant curve of a sleeping cat or the alert but fluid stance of a Golden Retriever. Use curved lines for the back, belly, and limbs to suggest flexibility and potential movement.
-
Flat Eyes: Eyes are the windows to the soul, and if they’re just plain black circles, your rat will lack expression and appeal.
Why it’s problematic: Flat, lifeless eyes make your rat seem devoid of emotion, missing that spark of connection we feel with our pets.
The correct approach: Always add a tiny white highlight (or two!) to the eyes. This simple trick adds sparkle and makes the eyes look wet and alive, reflecting light. Consider adding a darker pupil within a lighter iris if you’re going for more realism. This detail is crucial for creating that “pet profile pic” appeal.
-
Lack of Texture/Detail: A smooth, featureless rat can look more like a blob than a furry friend.
Why it’s problematic: Without texture, your drawing loses depth and realism, making it less engaging.
The correct approach: Even subtle fur strokes, tiny lines for whiskers, or a slight variation in shading can add immense depth. Think about the soft fluff of a Cavalier’s ears or the coarse hair of a terrier – every animal has unique texture. Don’t overdo it, but a little goes a long way to make your rat feel tactile and real.
Troubleshooting
Got a little snag in your artistic journey? No worries, we’ve all been there! Here are a couple of common issues and quick fixes.
-
“My rat looks more like a sausage with legs!”
Issue: Your body shape might be too uniform or lacking the natural curves and distinctions between the chest and hindquarters.
Quick Solution: Go back to your initial ovals. Make the body oval slightly wider at the back (where the hind legs attach) and a bit narrower towards the chest. Emphasize the gentle curve of the back and a slightly softer curve for the belly. Think of the subtle hourglass shape of a cat’s body or the gentle slope of a Golden Retriever’s back. Don’t be afraid to use your eraser to reshape those initial forms until they feel more organic.
-
“My lines are messy and it looks fuzzy, not furry!”
Issue: You might be pressing too hard with your pencil during the initial sketching phase, or your fur strokes are too haphazard.
Quick Solution: Remember to sketch very lightly at first. These are just guides that you’ll erase later. For fur, use short, deliberate strokes that follow the contours of the body. Think of them as tiny, overlapping commas rather than scribbles. Once you’re happy with your outline, you can go over it with a slightly firmer hand or a fine-liner. Practice drawing fur patches on a separate piece of paper until you get a feel for it. It’s like training your dog – consistent, gentle practice yields the best results!
Key Takeaways
Congratulations, fellow artist! You’ve just drawn an adorable rat, and hopefully, had a blast doing it. Here are the most important things to remember for your future drawing endeavors:
- Start Simple: Begin with basic shapes (ovals, circles) to establish your animal’s form.
- Light Touches First: Sketch lightly with your pencil, allowing for easy corrections and refinements.
- Observe & Compare: Pay attention to proportions and how different parts of the animal relate to each other. Think of your own pets for inspiration!
- Embrace Curves: Animals are full of soft, organic curves, not rigid lines.
- Details Matter: Eyes with highlights, delicate whiskers, and subtle fur texture bring your drawing to life.
- Practice Makes Perfect: The more you draw, the better you’ll become. Every stroke is a step towards mastery!
- Have Fun: Drawing should be an enjoyable, creative outlet. Don’t be afraid to experiment and let your personality shine through!
Frequently Asked Questions
Q: Can I draw my rat in different poses?
A: Absolutely! Once you’re comfortable with the basic standing pose, try experimenting. Imagine your rat sniffing, eating, or even doing a tiny zoomie. Start by sketching the body in a new position (e.g., a curved C-shape for a pouncing rat) and then add the limbs and head to match. Observing real pet photos (especially those funny animal moments!) can give you great inspiration for dynamic poses.
Q: What if I’m not good at drawing?
A: Everyone starts somewhere! Drawing is a skill that improves with practice, much like teaching your Golden Retriever a new trick. Don’t compare your first attempts to professional artists. Focus on enjoying the process, and celebrate every little improvement. This guide is designed for beginners, and the most important thing is to have fun and express your creativity, just like dressing up your Cavalier for their birthday!
Q: What are the best supplies for drawing animals?
A: For beginners, a simple HB or 2B pencil, a good eraser (kneaded erasers are fantastic for lifting graphite without smudging), and smooth drawing paper are all you need. As you advance, you might explore softer pencils (4B, 6B for darker shading), fine-liner pens for crisp outlines, or even charcoal and pastels for different textures. But honestly, the best supplies are the ones you have on hand that allow you to create!
Q: How can I make my drawn rat look more realistic or more cartoony?
A: For realism, focus on accurate proportions, subtle shading, and detailed textures (like individual hairs and paw pads). Observe real rat photos closely! For a cartoony look, exaggerate features – bigger eyes, smaller body, a more expressive tail. Simplify lines and use bold colors. Think about the adorable, stylized animals you see in children’s books or on pet profile pics – they often have exaggerated cute features!
What’s Next?
You’ve just created a fantastic piece of art, a testament to your newfound drawing skills and your love for all creatures great and small! But the fun doesn’t stop here.
Why not try drawing your own beloved pet – whether it’s a majestic cat, a goofy Golden Retriever, or a charming Cavalier? Apply the same step-by-step process: start with basic shapes, build up the features, and add those delightful details that make them unique.
Or, imagine this: your beautifully drawn rat could be the star of a personalized card for a fellow pet parent, a unique piece of art for your home, or even a custom label for your next batch of homemade dog treats! The possibilities are endless.
So grab your pencil, find some inspiration (perhaps a photo of your dog’s silliest moment?), and keep creating. The world is your canvas, and every stroke brings joy. What will you draw today?